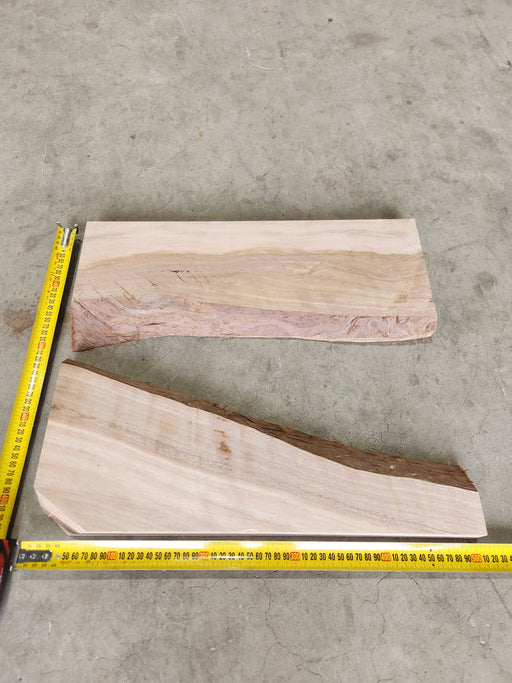
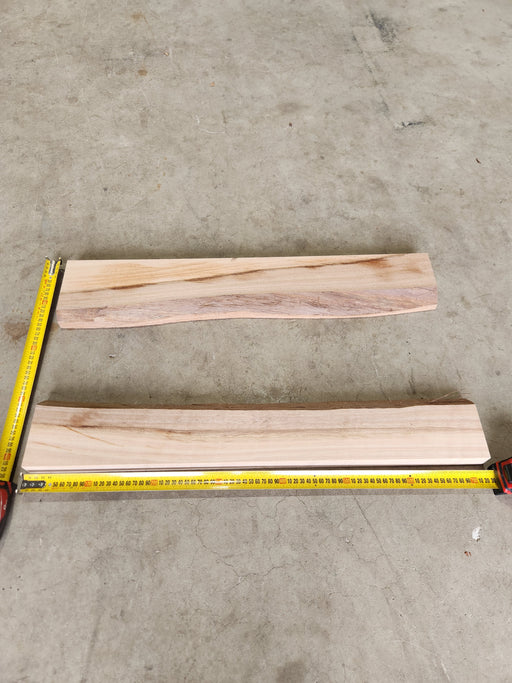
Step 1 – Remove any bark inclusions, loose wood and debris from the edges of the timber. A draw knife or chisel are the ideal tools for removing the bulk bark, following up with a wire brush or light sand to ensure a good bond to your timber.
Step 3 – Calculate the amount of epoxy needed. We are using river cast resin. Work out how much resin you'll need with this calculator.
Step 4 – Make sure the mold is level and the timber is held down.
Step 5 – Select your colour of choice. Bonus tip: if you’re wanting to test mica powder colour, mix the powder in a cup of water.
Step 6 – Mix both parts thoroughly until they are combined. Make sure to scrape the sides and bottom. We used a drill mixer, but a paint stirring stick or similar will do the same job. Make sure to check the ratio the parts should be combined at, and if they are mixed by weight or volume. All of our epoxies should be mixed by volume only.
Step 7 – Add in your colour of choice, and mix.
Step 8 - Pour your epoxy resin into mold.
Step 9 – Lightly torch to remove bubbles.
Step 10 – If you wish to add swirls to your resin mix every few hours until it becomes gel like. This time frame varies depending on the epoxy used, volume poured, environmental temperatures and more - don't be afraid to check/stir more regularly.
Now, sit back and wait. Depending on the epoxy you're using you'll need to wait a few days to a month prior to de-molding/finishing. A good tip to check if it's ready to remove is dig your fingernail into the epoxy, if it leaves an indent it's still too soft and should be left longer; if not then its good to go. Make sure to check the manufacturers cure times to understand how long before the epoxy is fully cured.
Remember, safety is key, so make sure to gear up with the appropriate safety equipment when using tools. We choose to use Iso Tunes hearing protection and RZ Masks to protect our lungs when working in the shop.


Comments
Leave a comment